Search by keyword...
Payment Process
Setting Up Automatic Payments
- Go to “Schools” in the green menu bar on the left.
- Click on your school.
- Click on “view profile” at the bottom of your school information card.
- On the right side of your screen, Click “Add Payment Details”.
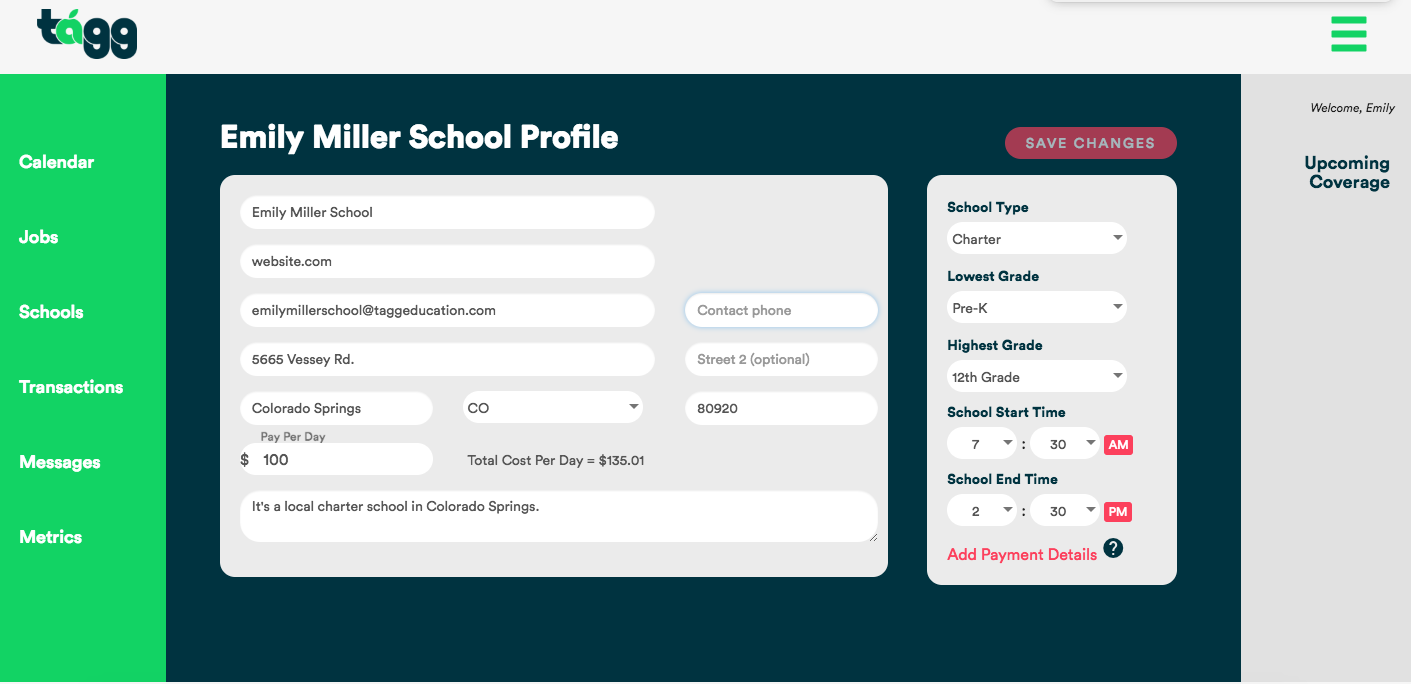
- You will then be asked to enter your account name and routing number to connect your payment information with our payment partner, Stripe.
- You will be charged two small micro-transactions of less than a dollar to verify your account.
- It will take up to 3 days for your bank to show these transactions.
Verifying Your School Account
- When your school sees that there have been two withdrawals from your account, navigate back to your school profile.
- Where it previously said “Add Payment Details”, it will now say “Verify Account”. Click this link.
- On the next page, enter the two withdrawal amounts you saw in your bank account.
- That’s it! You’re ready to make payments.
How Automatic Payments Work
- Payments process automatically 7 days after the job occurs so you don’t have to worry about manually processing payments.
Approving/Declining Payments
- If you would like to approve or decline a payment before it automatically processes go to “Transactions” in the green menu bar on the left side of your screen.
- Select the transaction you would like to approve or decline.
- Depending on the action you wish to take, click the “Approve” or “Decline” buttons at the bottom of the page
![]()